[Translated from the original post because you asked soooo nicely. take comfort from the untranslatable puns with a slice of cheesecake]
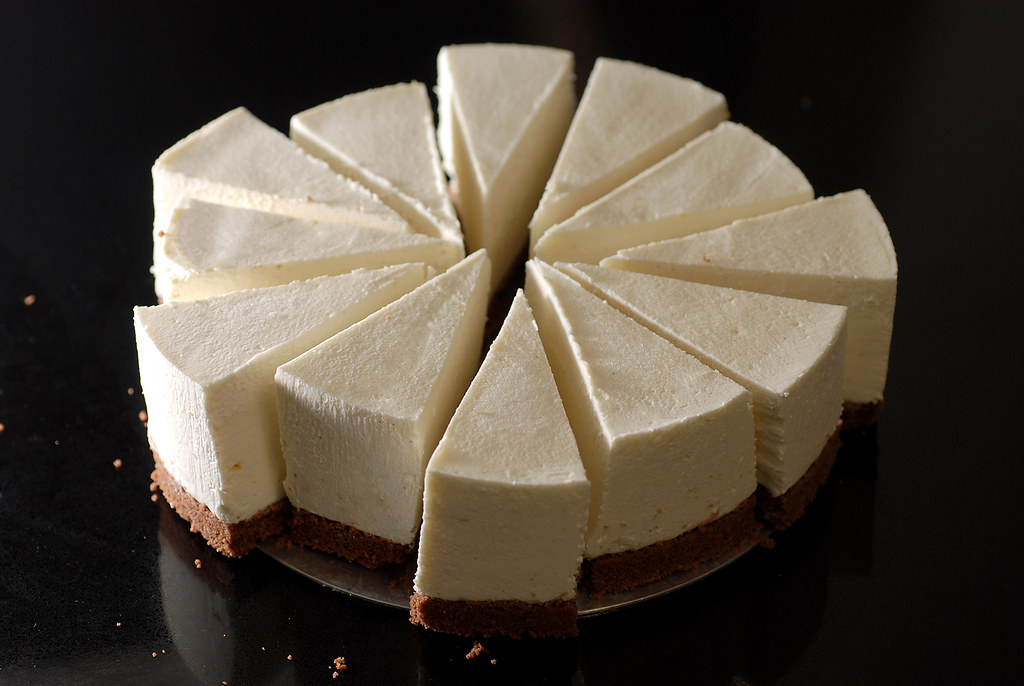
Sometimes in life there’s so much to do and so little time.
Like, for instance, after you go back to work after a 10-day-vacation abroad, only to find out that the air conditioner is clogged and the mixer is broken and we’re short on staff and inventory too and Shavuot is coming by leaps and bounds like Naomi Campbell stomping towards you on the runway and you’re Tyra banks and you have nowhere to run.
And then, by the time you get home, you really have no energy, or time, to make a neoclassic cheesecake, especially when there’s a week-long heatwave and you can’t even think about turning the oven on.
[Totally hypothetical situation]
And then Nigella’s ingenius no-bake-cheesecake comes waltzing in.
And frankly I make it all year long, and not just on Shavuot [Also informally known as Cheesecake Day] because it’s so quick and easy to make, and everybody loves it, some to the point of madness.
Because actually, just this week I got an angry phone call from my mom in the middle of the day, reprimanding me for leaving her a slice of cheesecake in the fridge and how could I have done it to her because she’s on a diet and I’m ruining everything and isn’t it enough that I don’t give her little chubby grandkids but I’m also turning her little and chubby because with age she’s already getting smaller and smaller???
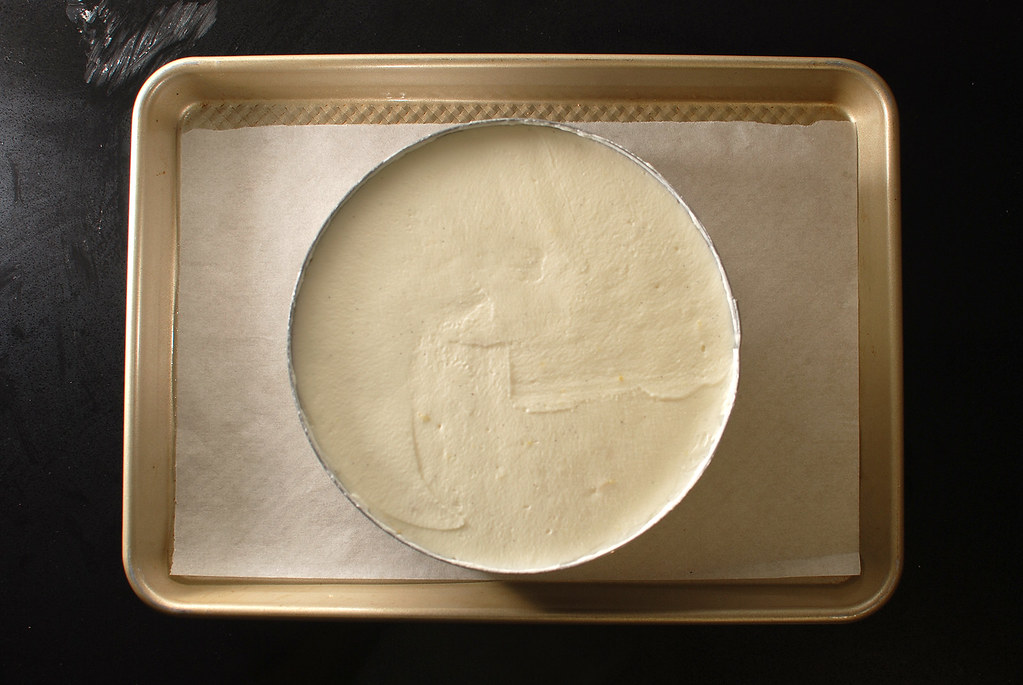
[I have a feeling there’s more to this rant than mere caloric complaining]
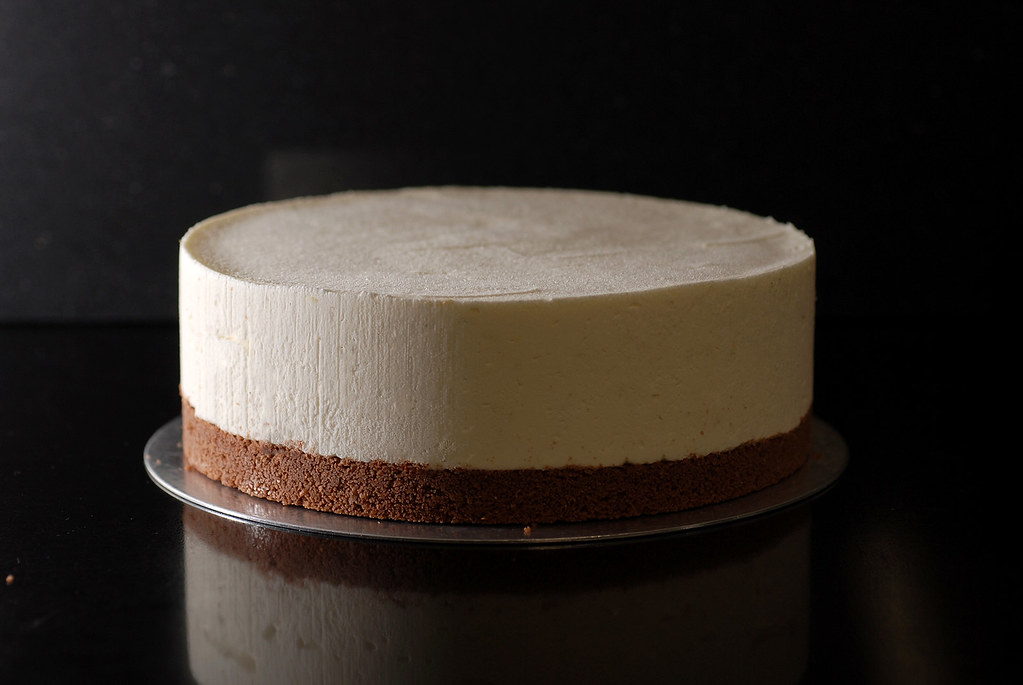
[But maybe it’s just the madness talking]
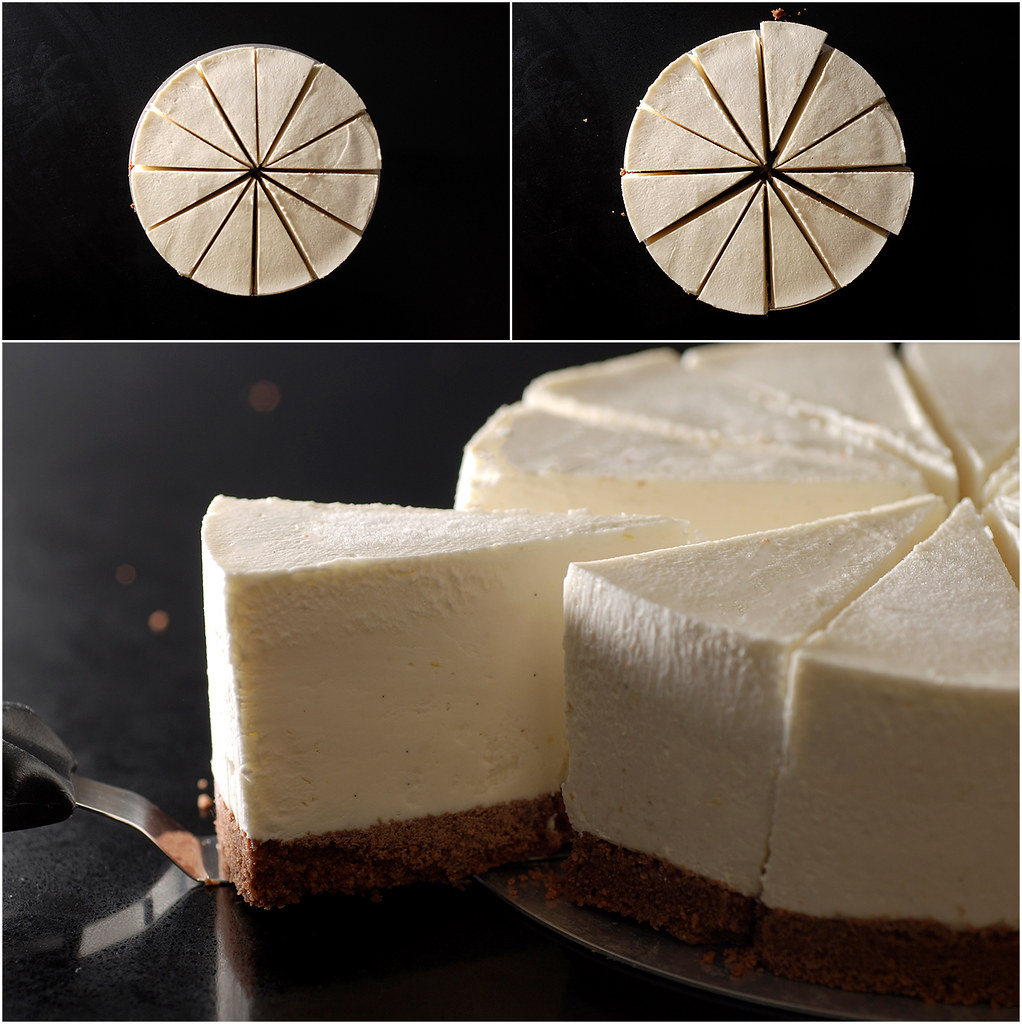
5 Ingredient No-Bake Cheesecake
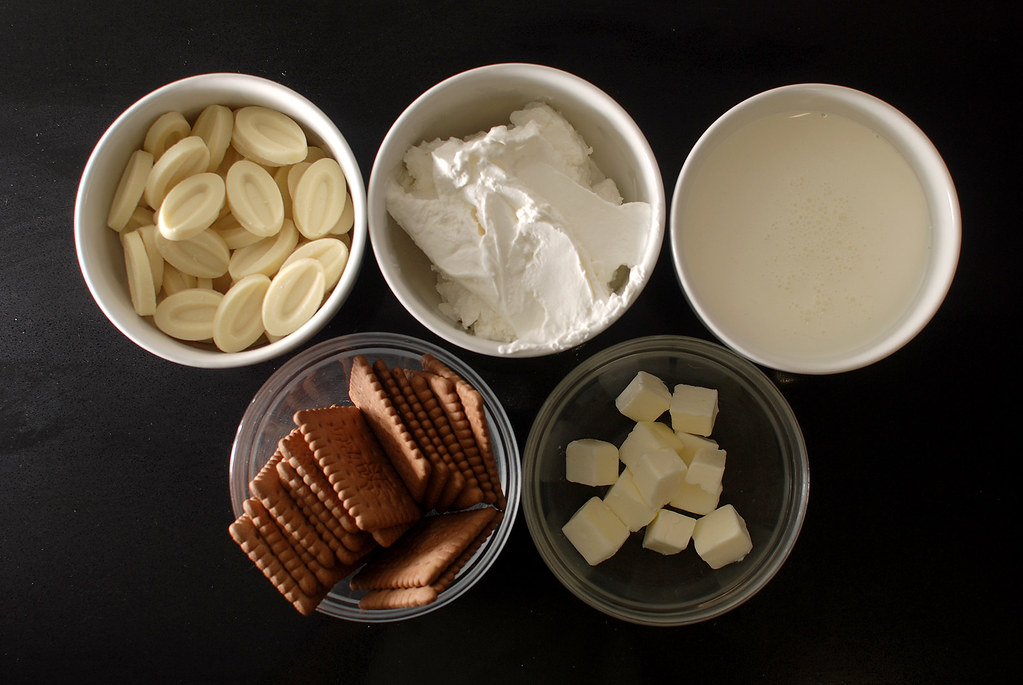
In nigella’s original recipe, from her latest book “At my Table”, she adds lemon juice and lemon zest to the filling, but to be honest it is already perfect at its most basic and stripped-down 3-ingredient core [taking a cue from Destiny’s Child]: Cheese, Chocolate, Cream. From there, you can add whatever flavoring you like: lemon juice and lemon zest; or maybe orange. or marble in some jam or dulce de leche, or fold in some cookie chunks, or basically just do whatever you want.
[Obviously the ingredient number will rise but I think you’ll be able to handle it 🙂 ]
In a slightly more decadent variation, I used milk chocolate cookies for the crust, substituted caramelized white chocolate for the [ordinary] white chocolate, and after removing the cake, i glazed with milk chocolate ganache [for the chocolates, I like to use Valrhona’s Dulcey and Caramelia, respectively].
Like the Neoclassic Cheesecake, the magic ingredient here is the white chocolate; I like to use Valrhona Ivoire, which is a white chocolate with 35% cocoa solids [butter, actually], and it’s creamy and milky and a little vanilla-y and fabulous. But since there aren’t many ingredients anyway in this cheesecake, it’s essential to use the good-quality ingredients for the best result. So for the cream cheese, I use Philadelphia.
Because this is a no-bake-cheesecake, you can basically use whatever pan size you want, it all depends on what size you want the cake to be. The cheesecake in the pictures was made in a 18 cm / 7 inch pastry ring, but you can also make it in 20 cm / 8 inches- it will just be a tad shorter. For other sizes, I would change the quantities accordingly.
For the crust
- 175 grams plain, butter cookies
- 75 grams butter
For the filling
- 200 grams [7 ounces] good-quality white chocolate [I use Valrhona Ivoire]
- 300 grams [10.5 ounces] full-fat cream cheese, at room temperature
- 300 ml [1 1/4 cups] heavy cream
- Optional: Flavorings according to your own taste [vanilla, lemon, etc]
To make the crust:
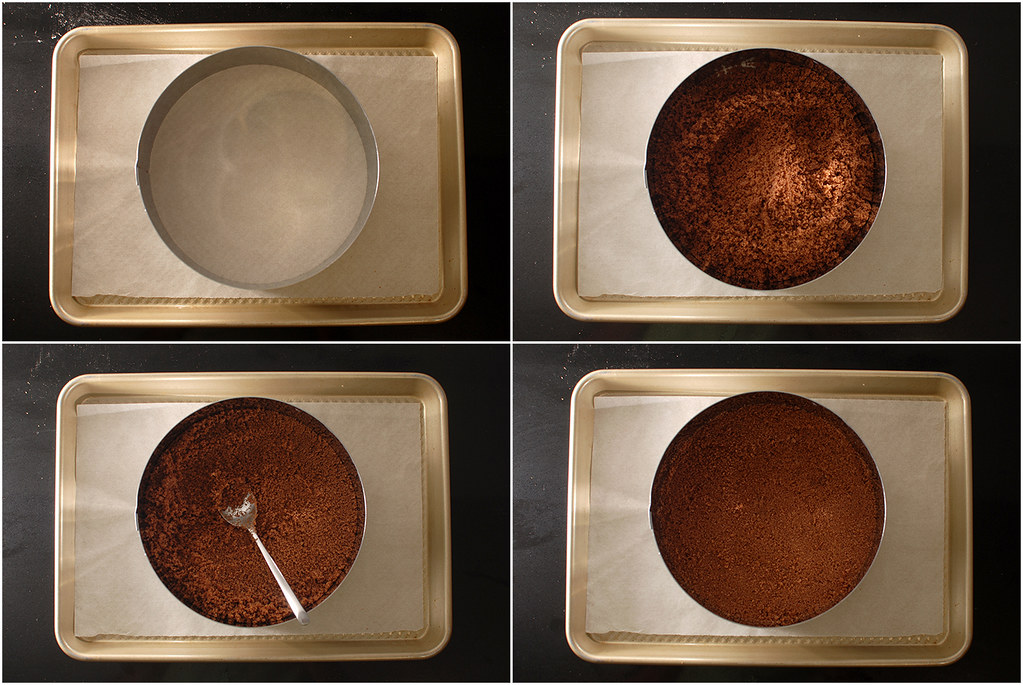
Place a 18 cm pastry ring [6 cm high] on a parchment lined baking sheet [or use a springform/removable bottom pan]. If you want, you can line the inside of the ring with a sheet of acetate [I usually don’t bother]. Set aside.
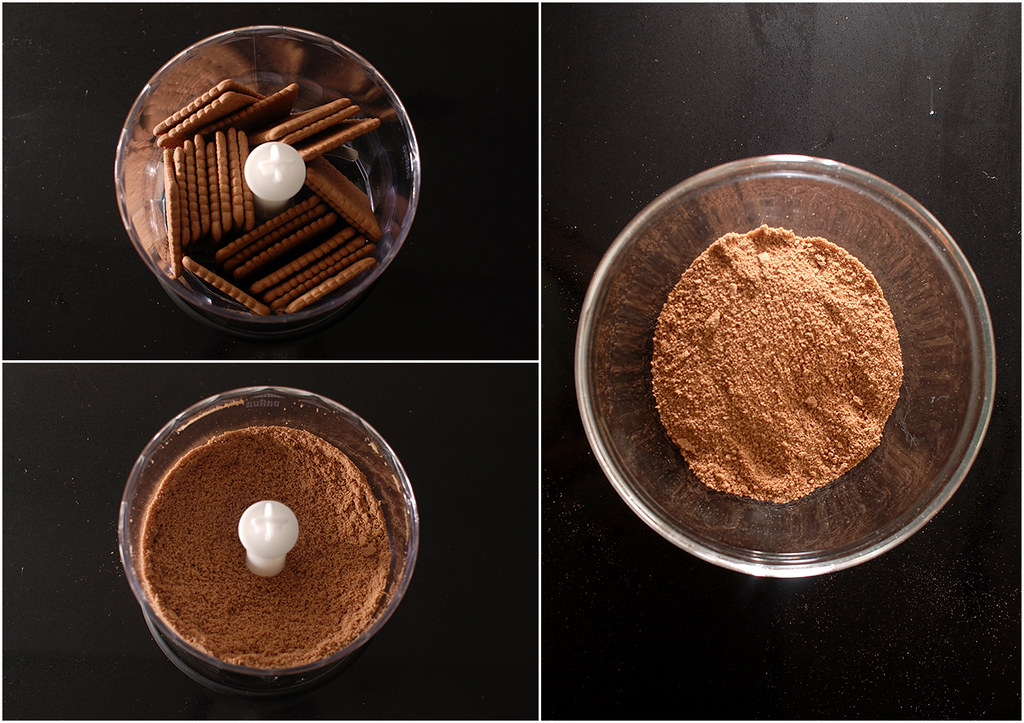
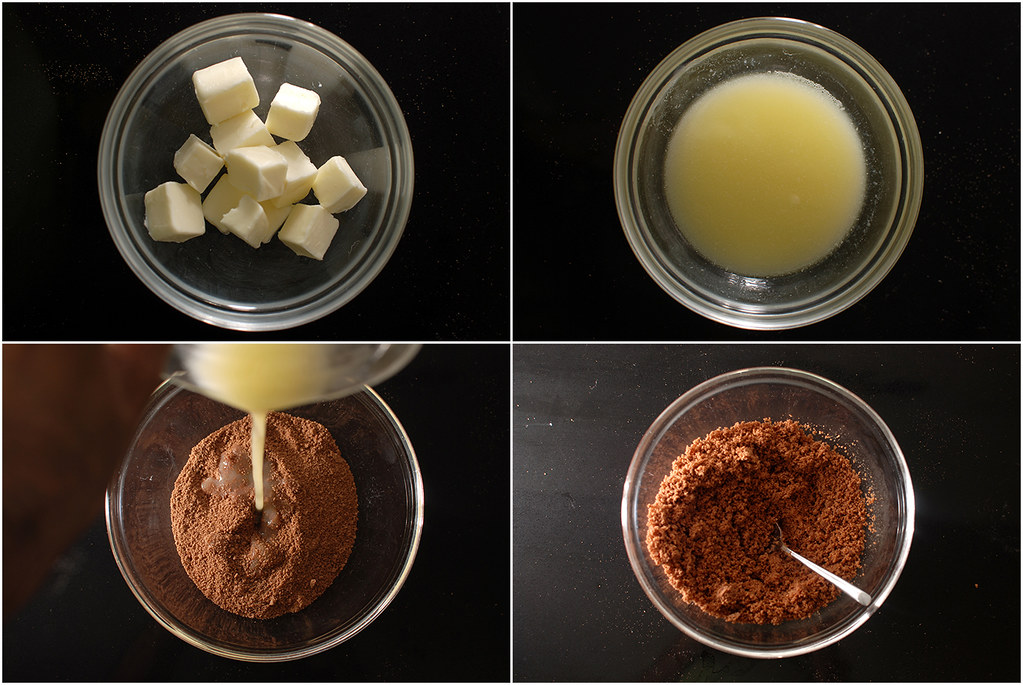
In a food processor, grind the cookies [or biscuits/graham crackers] until they are evenly, finely ground. Melt the butter and pulse it in, until it looks like damp sand, and clumps a bit. Some cookies are drier then others, so you may want to add more [or use less] butter to get the same texture, but go cautiously. A good way to tell if it’s moist enough is to check it like pie dough- If you squeeze the crumbs with your hand, they should hold their shape.Transfer the damp crumbs into the pastry ring, and press with your hands [or a spoon or a hammer or whatever you want] to make a nice, even, crust. Set aside.
To make the filling:
The filling is very simple- just melt chocolate, mix with cream cheese, and fold in whipped cream. But you do need to make sure that the chocolate isn’t too hot because it will melt the cream, and also not too cold, because it will start to harden and solidify, and if it happens while you mix it with the other ingredients then that, well, sucks. That’s why you need to make sure that these 3 ingredients are all ready for each other before you start mixing them together [which is one of many benefits of Mise en place]. So:
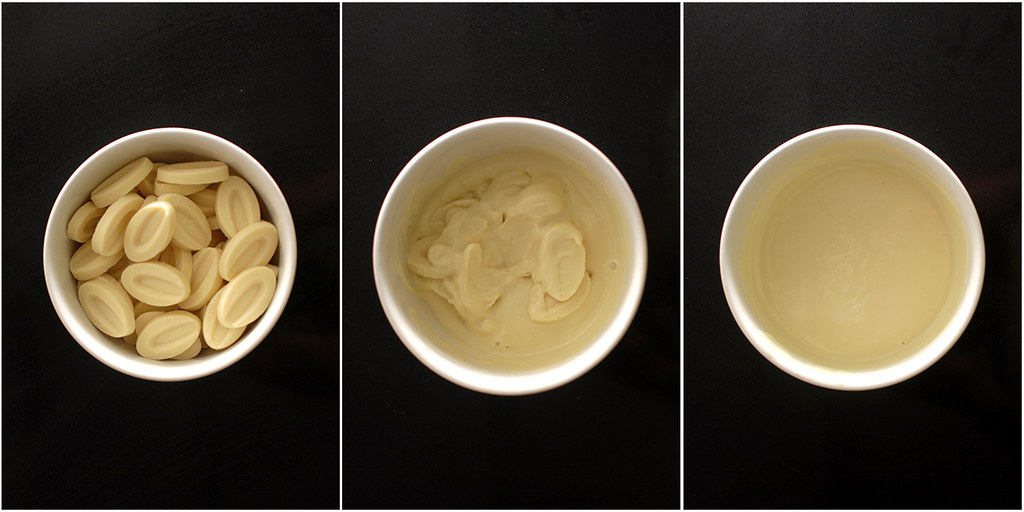
Melt the white chocolate in the microwave or over a pan of simmering water. Set aside to cool a bit.
Meanwhile, in a large bowl [one that’s big enough to hold all of the ingredients later], mix the cream cheese until it’s soft and smooth. Set aside.
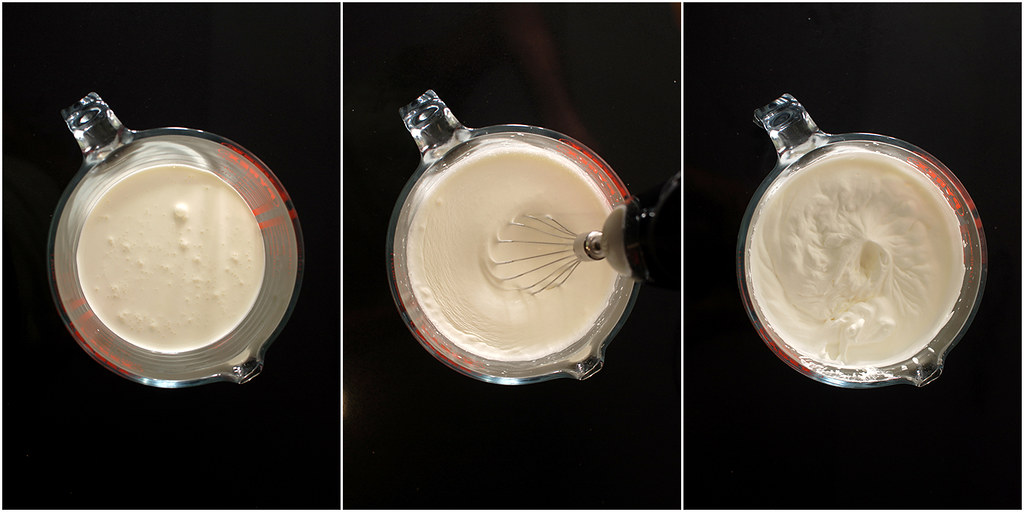
In another bowl [I like to use a hand mixer because it’s faster to clean], whip the heavy cream just so it thickens and looks voluptuous and luscious and silky and smooth and every adjective that Nigella had used, like, ever. It shouldn’t be stiff and the peaks should hold their shape, but it shouldn’t be too loose that it looks, erm, liquidy.
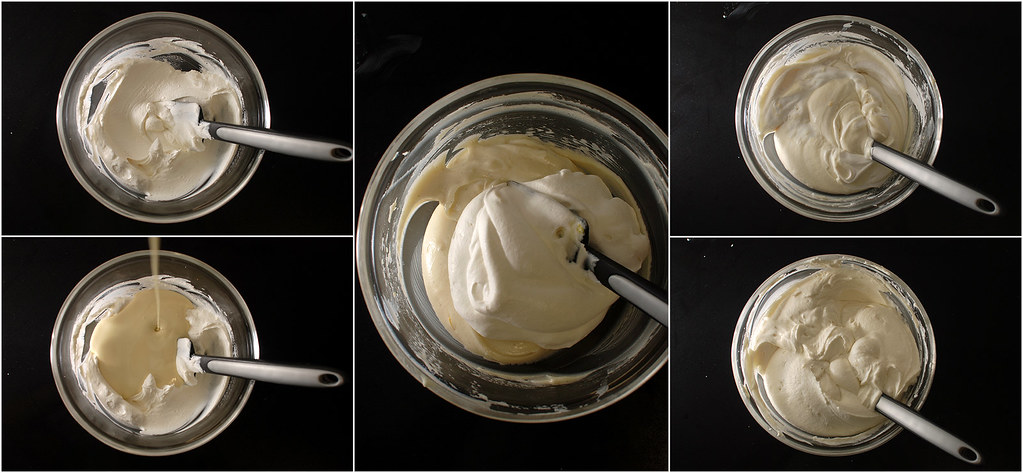
Now all the ingredients are ready, so- mix the white chocolate into the cream cheese, then fold in the whipped cream. If you have some flavorings you want to add- do it now. Then taste and see if you’re missing something. I usually add a tiny bit of salt but I know that I’m a tiny bit insane. Now, scrape the filling into the ring, leveling it with an offset spatula or a spoon or whatever. Cover with plastic wrap and place in the fridge to set for a minimum of 8 hours [you can also freeze it for longer storage, and defrost in the fridge the night before serving. Just make sure it is wrapped well, to avoid any off-flavors or freezer-burns].
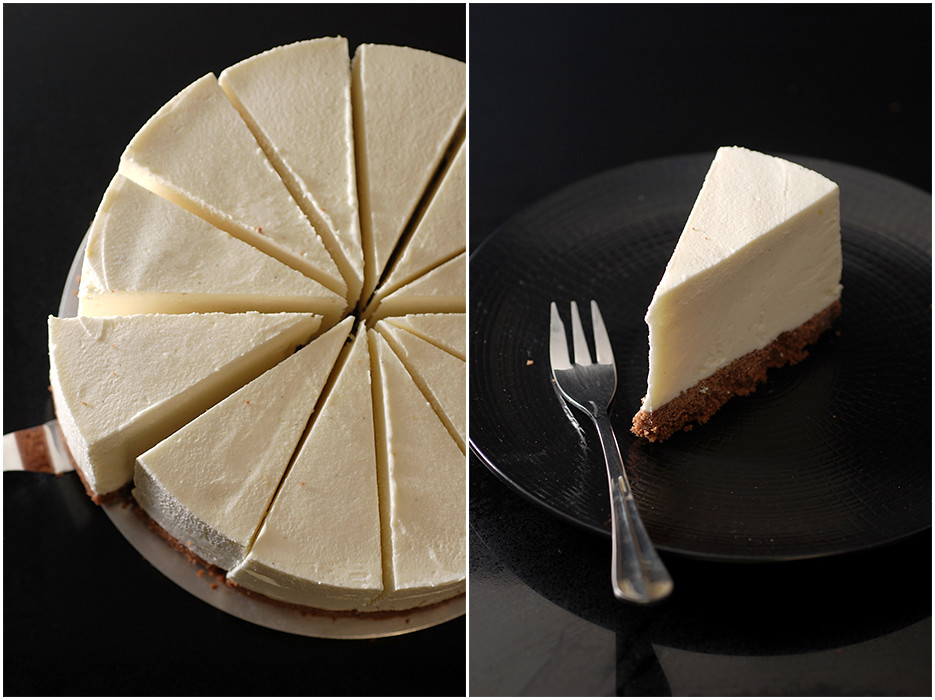
Before serving, take out of the fridge and place the cake, in its ring, on a serving plate. Carefully remove the ring [I usually heat it with a butane torch], and with a warm knife [you can dip it in hot water and wipe it dry] slice, with sheer joy.

The best looking cheesecake I’ve ever seen. Can’t wait to try it.
Thank you! I hope you’ll like it!
Bless you…not only for your incredibly beautiful website, but for translating to English!! I downloaded a translator just for this website 😉 Please don’t laugh when I ask, what language will I be translating from?? I simply have no skills when it comes to decoding a foreign language via text, or spoken words for that matter 🙂 I will be trying this recipe and following up with my thoughts once I buy the chocolate, to do the recipe justice. Thank you again!
Oh thank you!!!
Well , aside from this post, the regular blog is in Hebrew, so I hope the translation will go well!!
Awaiting your updates about the recipe, and I’m always here for questions!
Good luck!
Hi, love your blog, the pics are so good!
Can I use graham crackers?
Thanks